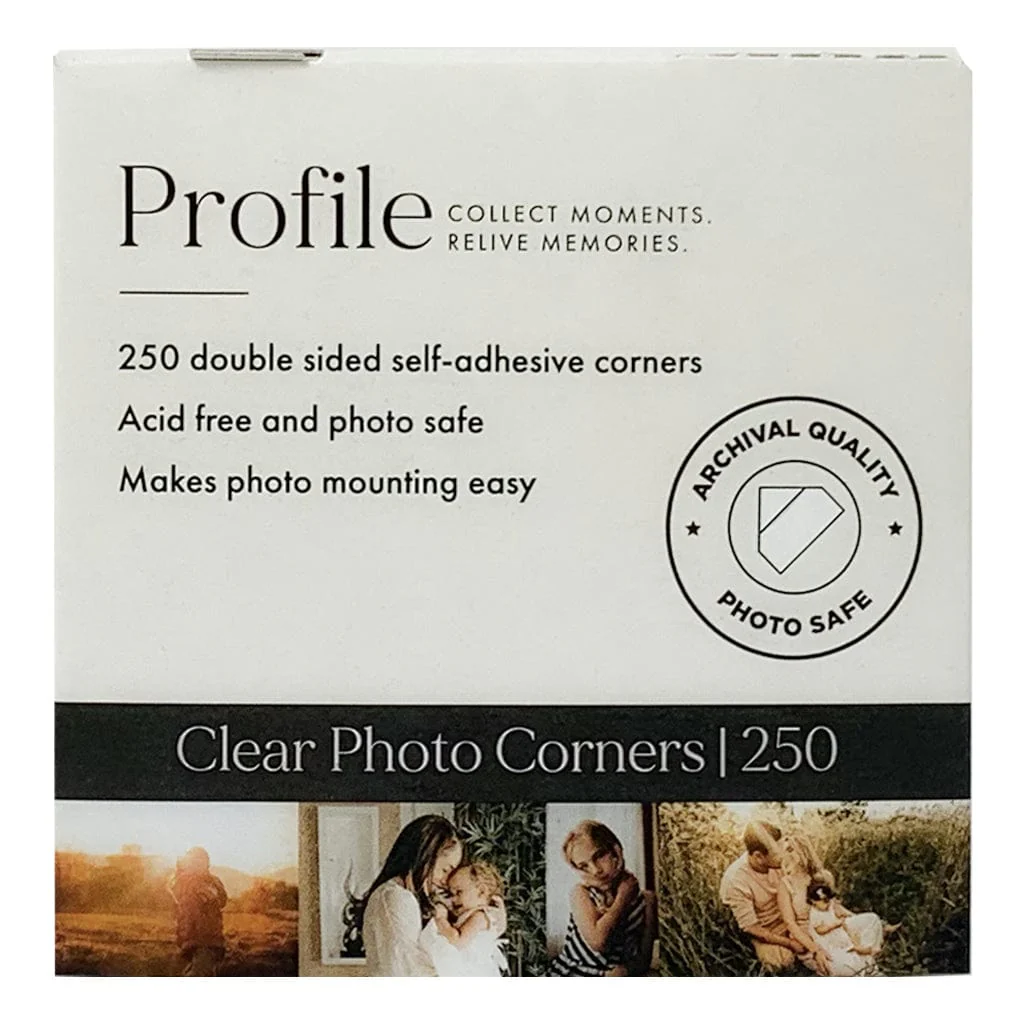
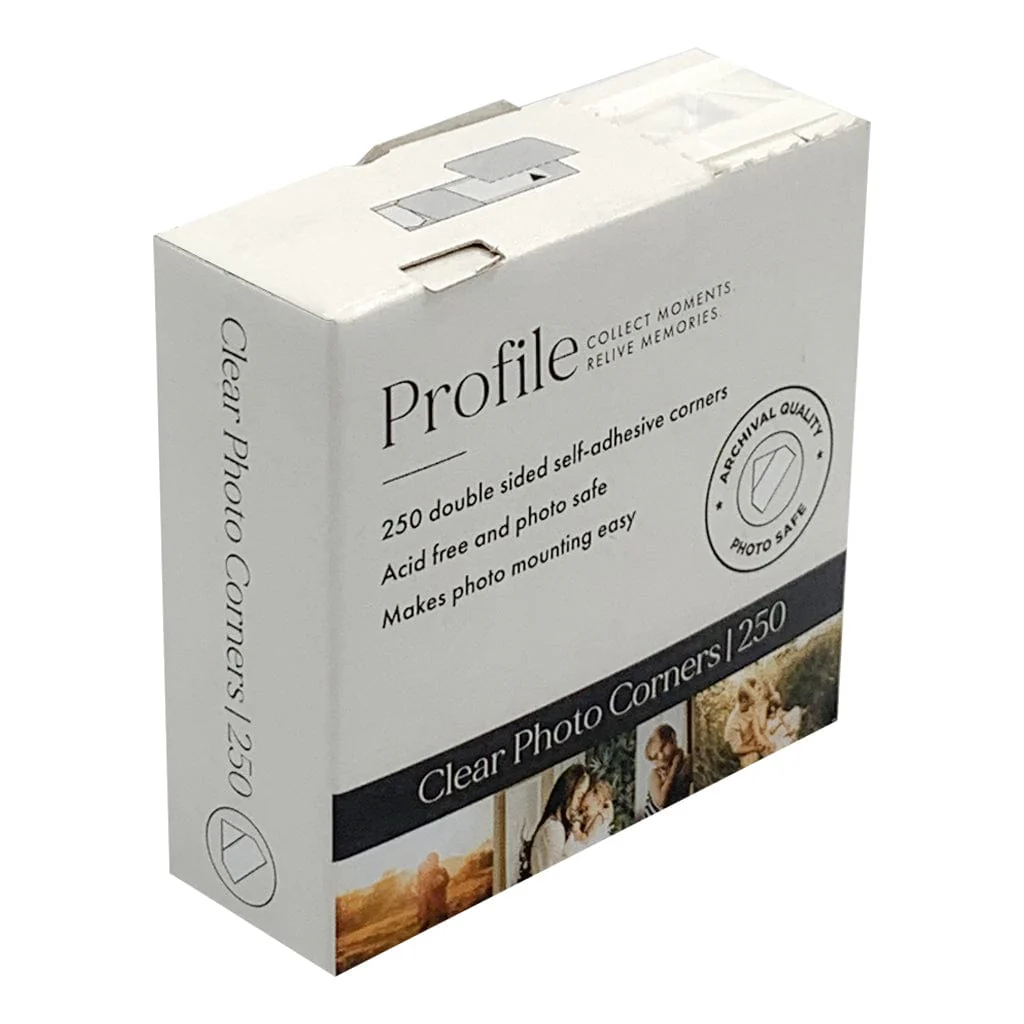
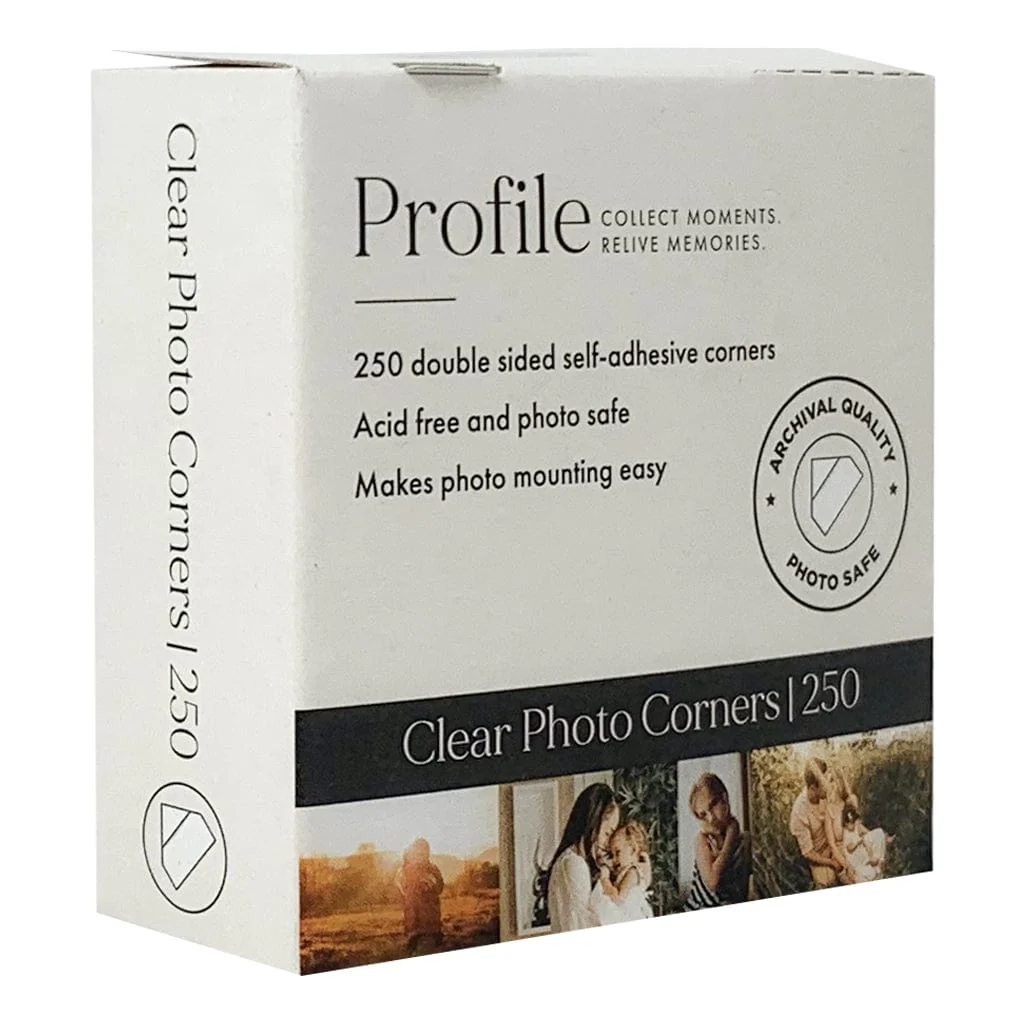
Profile Archival Photo Corner Stickers (pk250)
Profile Archival Photo Corners are perfect for easily mounting and arranging your photos in any drymount photo album.
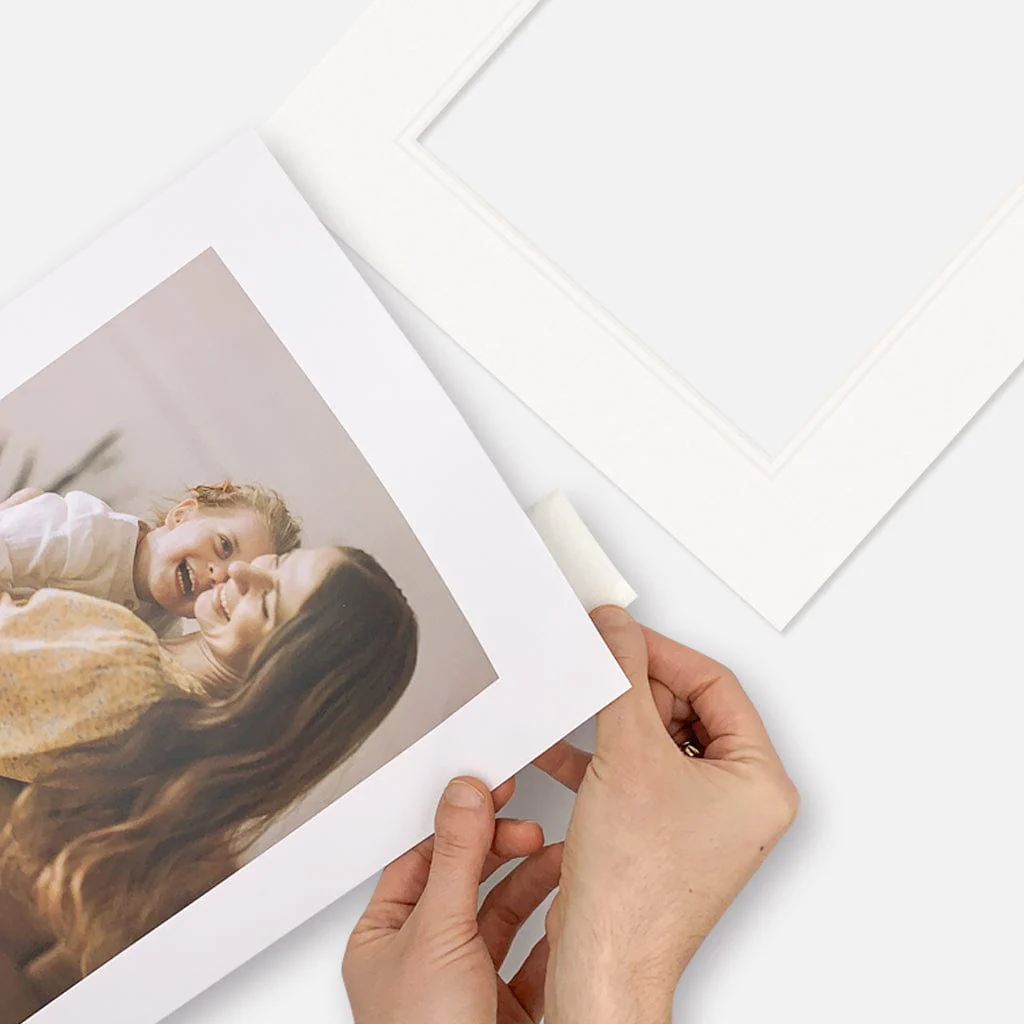
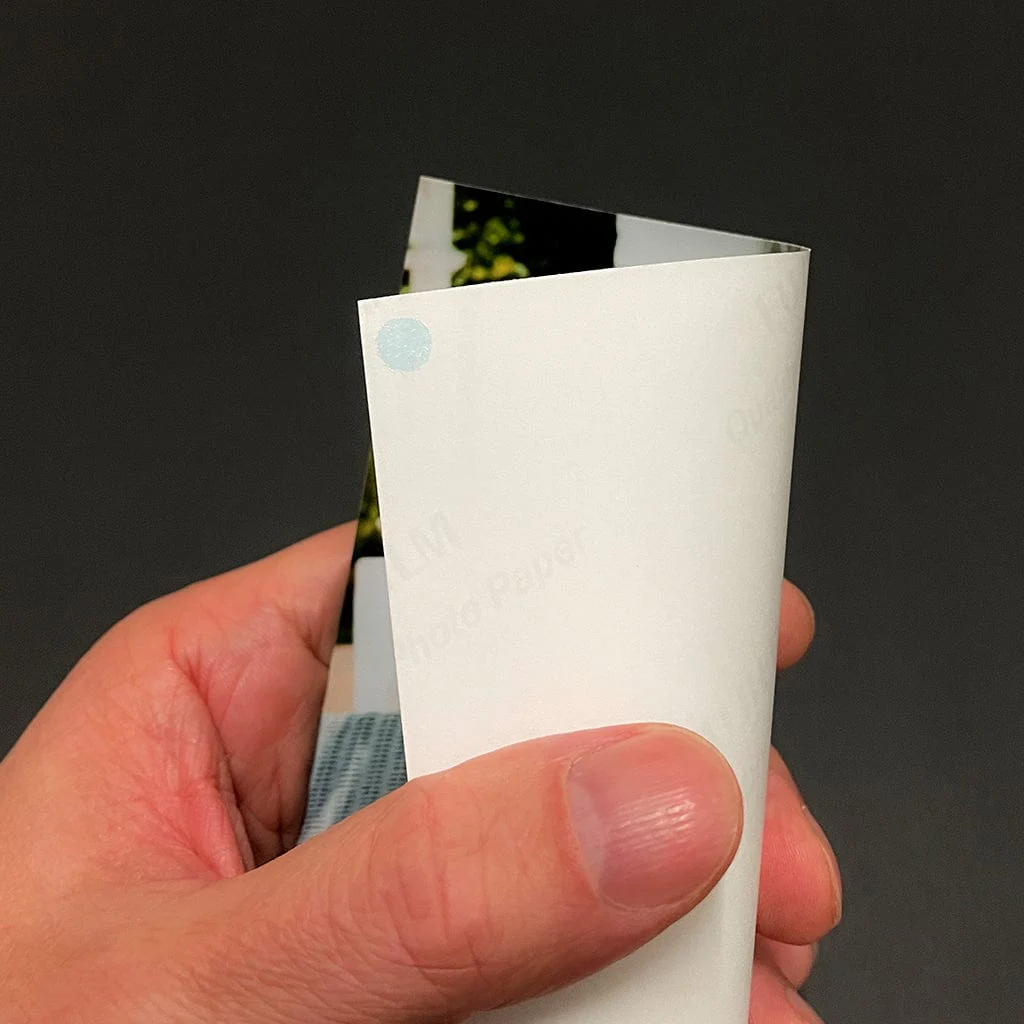
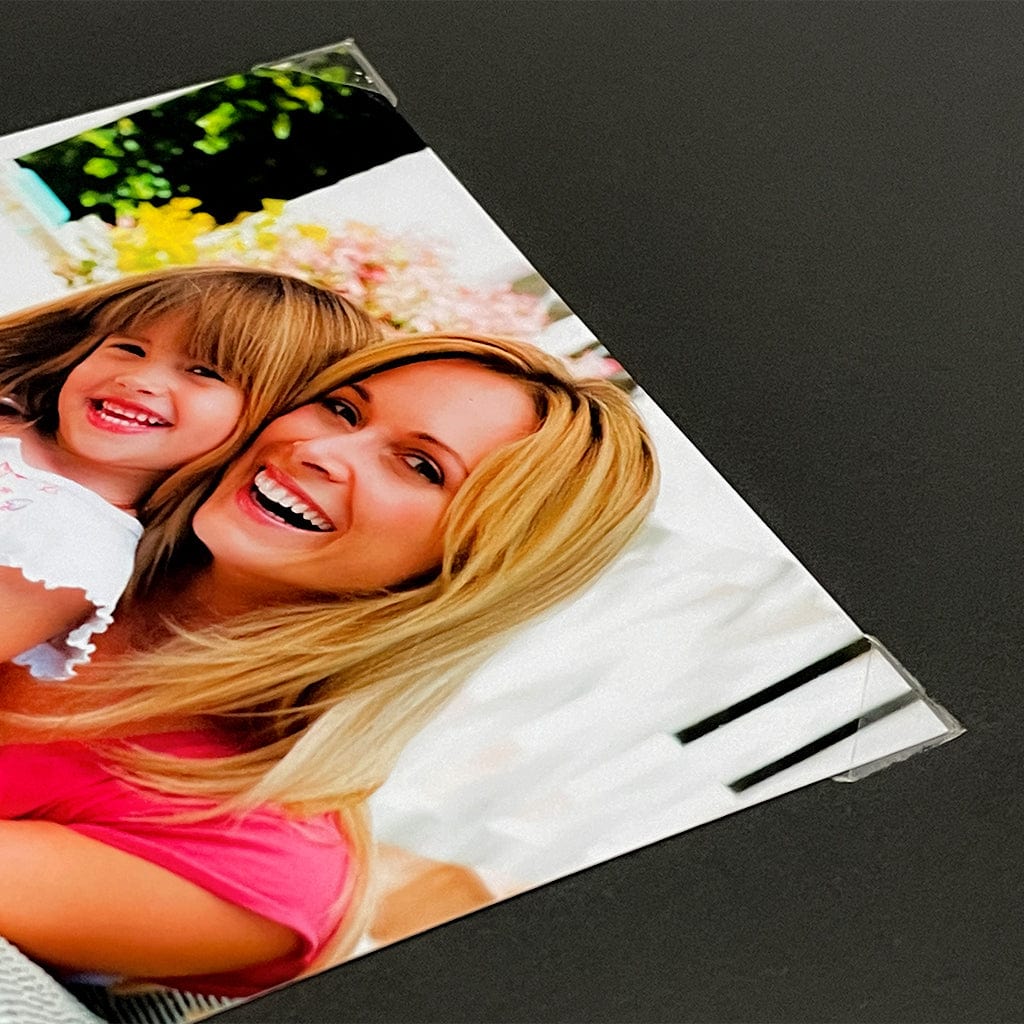
These handy self-adhesive photo mounting accessories make it simple to mount photos without any sticky mess or residue on your prints.
Each photo sits securely within the corner pockets and can be removed or repositioned at any time. This is ideal if you wish to update, move, or replace photos - or read notes on the back of older prints.
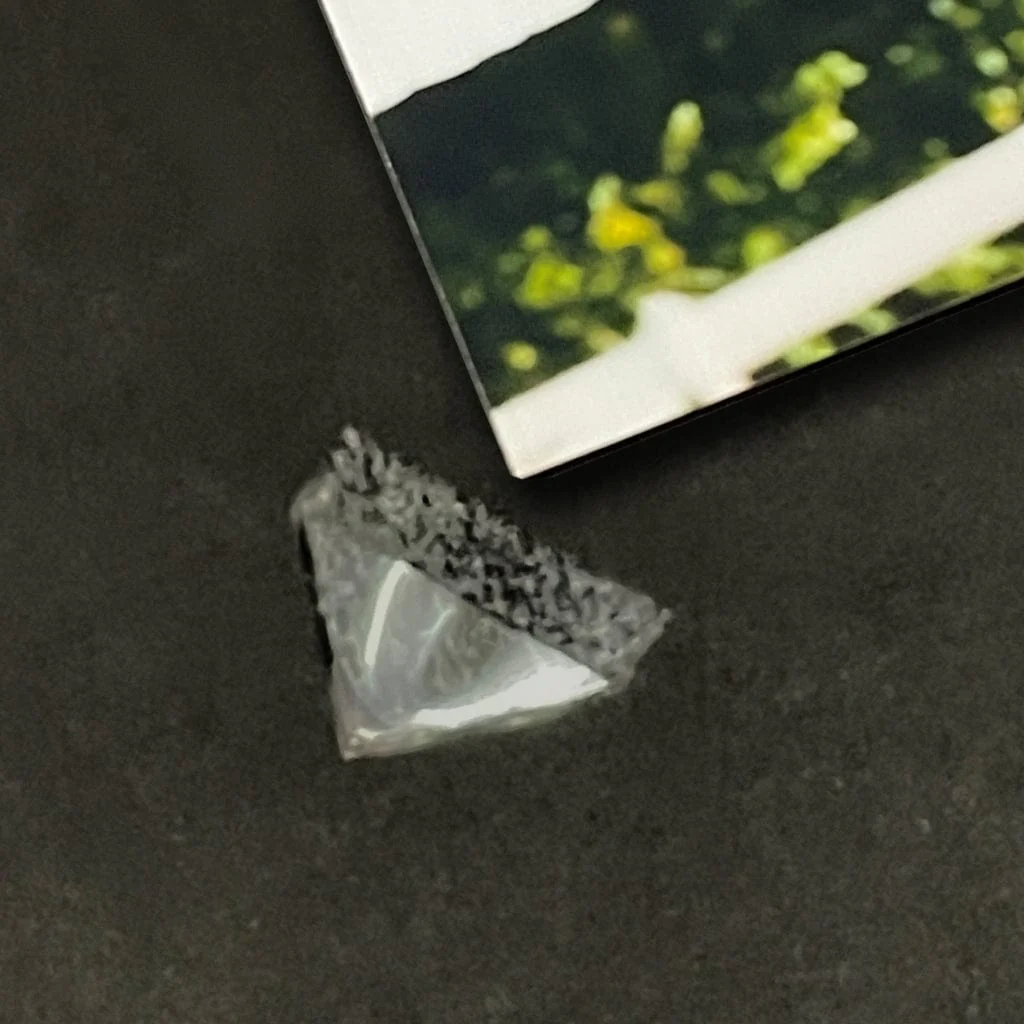
Made from crystal-clear, conservation-grade polypropylene, Profile self-adhesive photo corner stickers are PVC-free, acid-free, and photo-safe. The corners measure 10 mm × 10 mm and feature a premium, pressure-sensitive acrylic adhesive that is non-yellowing and free from harmful chemicals.
These archival photo corners have been P.A.T. tested by an independent scientific laboratory and confirmed to be photo safe for long-term storage of photographic materials. Learn more about P.A.T. testing here.
No adhesive ever touches your photographs, making these corners the safest archival option for mounting precious photographic prints, artworks, and documents.
Because prints can be easily inserted and removed without damage, Profile Archival Photo Corners are recommended by professional photographic conservation specialists around the world.
They’re also highly versatile - perfect for mounting photos, postcards, collector cards, artworks, or memorabilia in albums, scrapbooks, and picture frames.
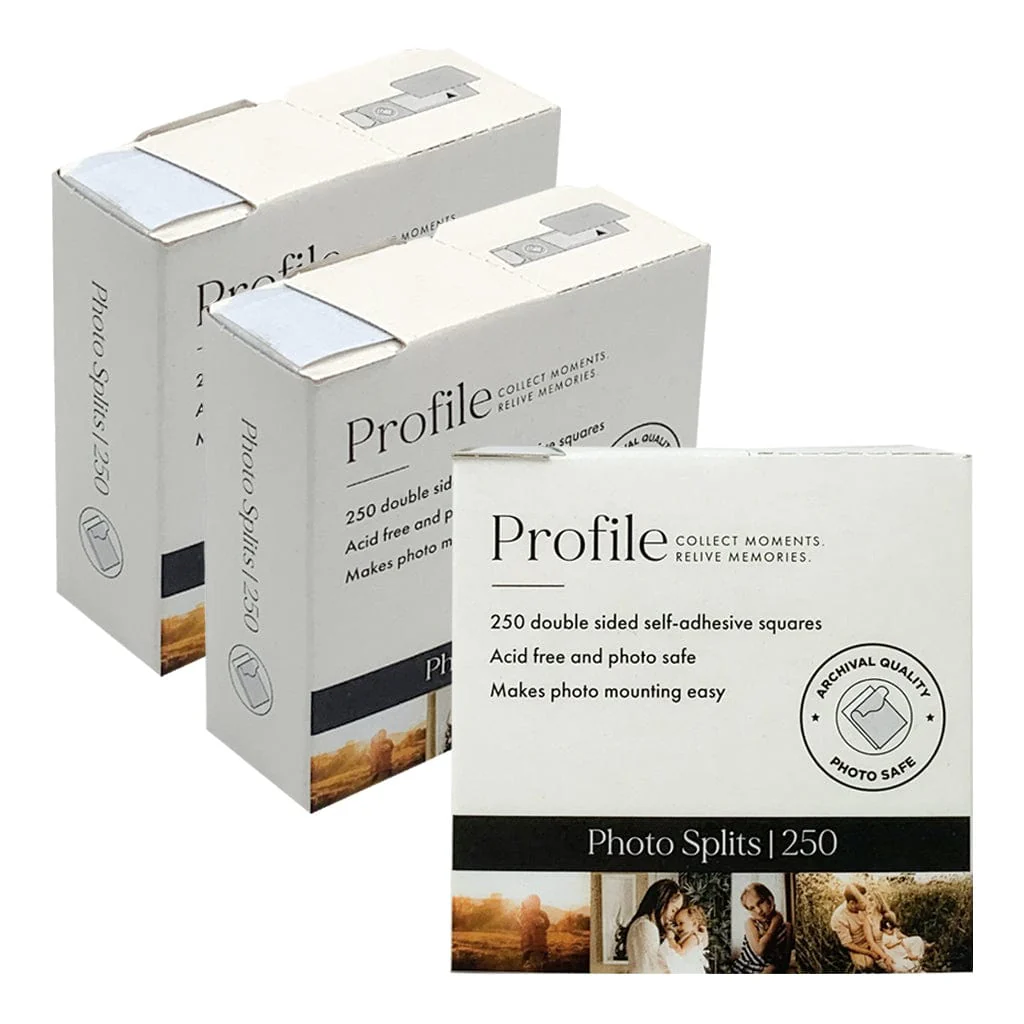
- Pack of 250 clear self-adhesive photo corners
- No direct adhesive contact with photos
- Photos can be easily mounted and removed
- Archival quality, PVC-free and acid-free
- P.A.T. tested and certified photo safe for long-term storage
- Made in Denmark with the highest standards of quality
How to Use Self-Adhesive Photo Corners
Photo corners are a simple, archival way to mount prints without putting adhesive on the photo itself. Follow these steps for a neat, secure result in albums, scrapbooks, or framed displays.
Before You Start
- Work surface: Clean, dry, and flat. Wash and dry your hands or use cotton gloves.
- Page type: Best on smooth, uncoated album pages or backing boards. Avoid very textured papers where adhesives may not adhere well.
- Tools: Soft pencil, small ruler or set square, and a clean weight (e.g. a book) to hold the photo flat.
Step-by-Step
- Plan the position: Place your photo on the page and lightly mark two small pencil dots at the bottom corners to guide alignment.
- Fit the bottom corners: Slide two corners onto the bottom edges of the photo until seated fully into the pockets.
- Stick the bottom corners: With the corners still on the photo, align it with your pencil dots and press down firmly to adhere the corners to the page.
- Add the top corners: Slide two more corners onto the top edges of the photo and press to stick.
- Set the bond: Gently burnish each corner so the adhesive bonds evenly to the page.
Neat Alignment Tips
- Square edges: Use a small set square or ruled lines on your page to keep photos straight.
- Even borders: Measure a consistent margin from page edges (e.g. 20 mm) before Step 1.
- Multiple photos: Lay out all photos first, mark positions, then mount one at a time.
Troubleshooting
- If corners won’t stick well: Wipe the page lightly, burnish each corner after placing, and allow the adhesive to set under a light weight for 10–15 minutes. Smooth pages work best.
- If the photo is slightly crooked: Lift only the top corners, re-square the print using a ruler edge, then press and burnish again.
- If you need to reposition: Slide the photo out gently, lift the corners from the page if needed, and replace with fresh corners if the adhesive has weakened.
Compatibility & Sizing
- Standard prints: Suitable for classic photo sizes (4×6", 5×7", 8×10") and most inkjet or lab prints.
- Matting & framing: Perfect for temporary, exhibition-style mounting under a window mat or within a frame.
Quick Care Tips
- Do not over-tighten corners. Allow a natural fit so the photo lies flat without bowing.
- Avoid touching the image surface. Handle by the edges only.
- For albums with glassine interleaving sheets, close pages gently to prevent corners from catching.
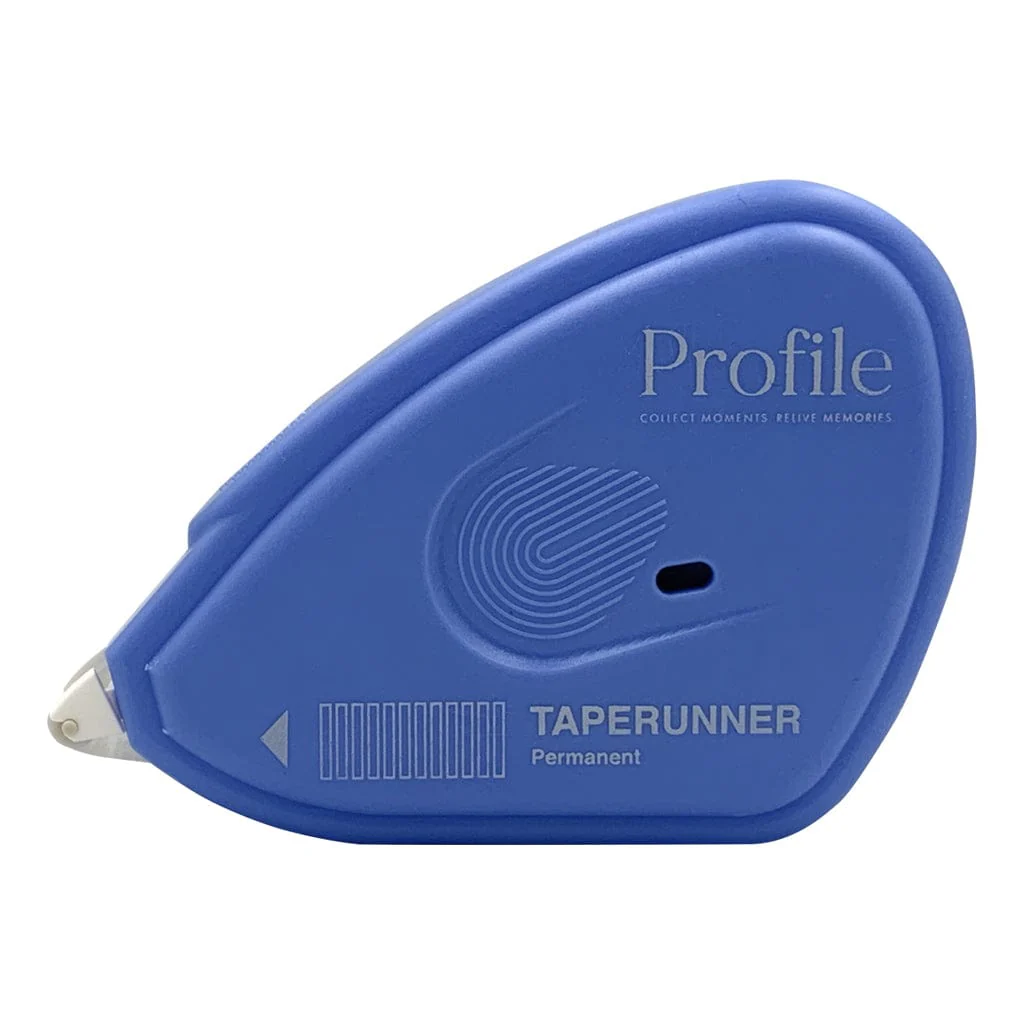
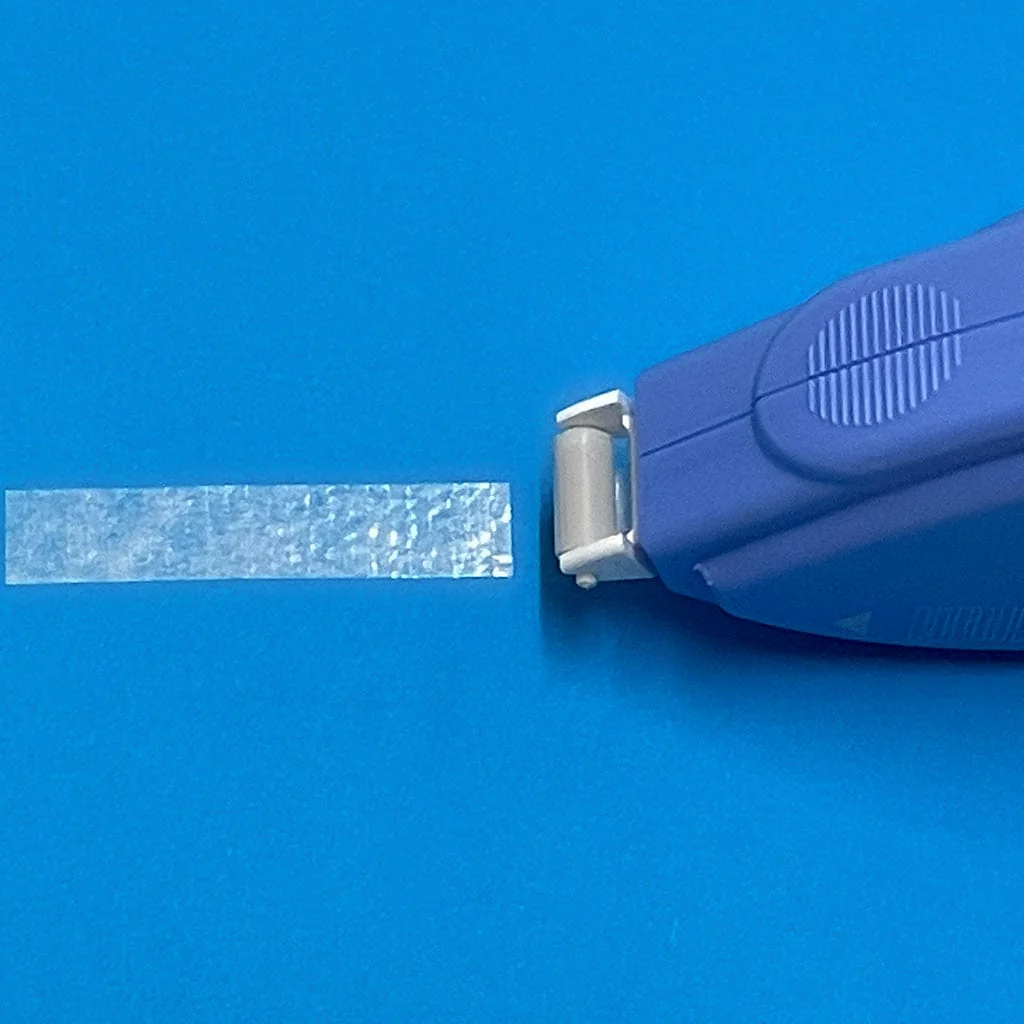
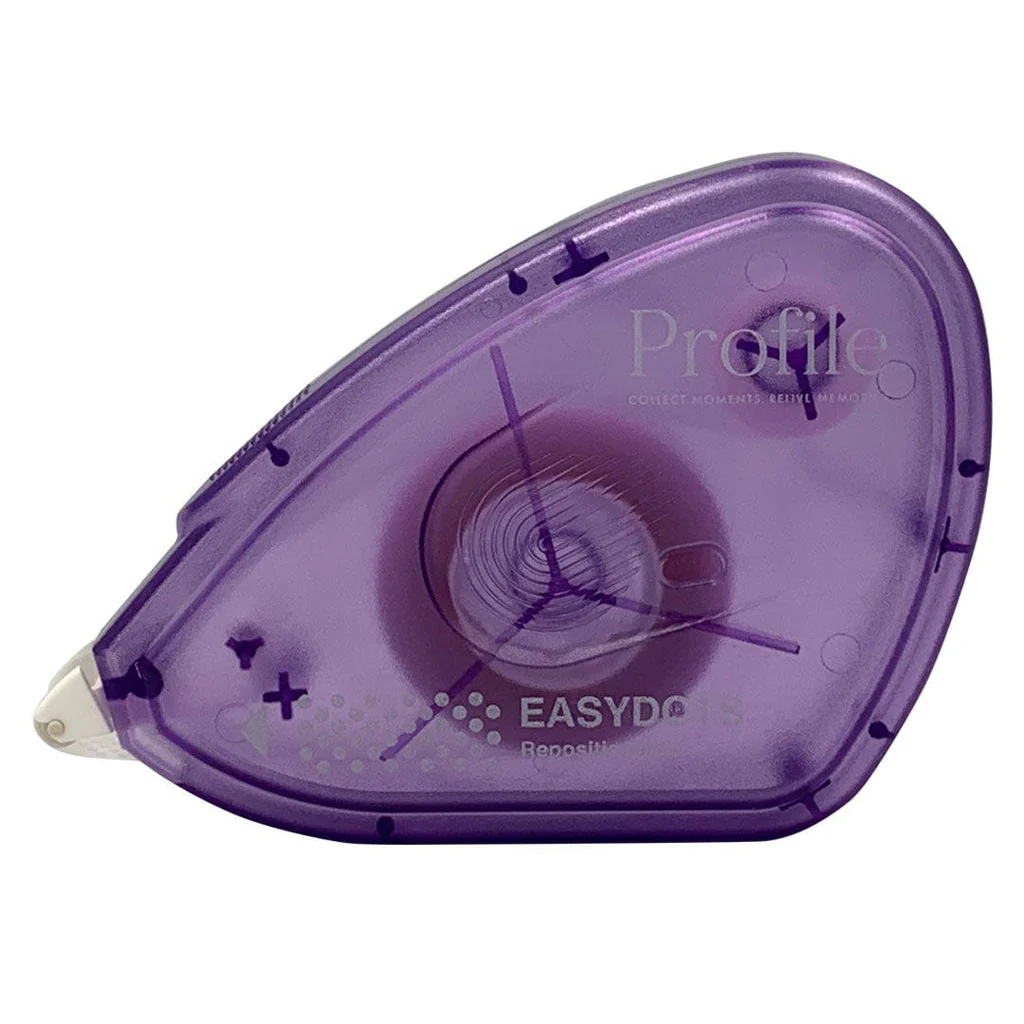
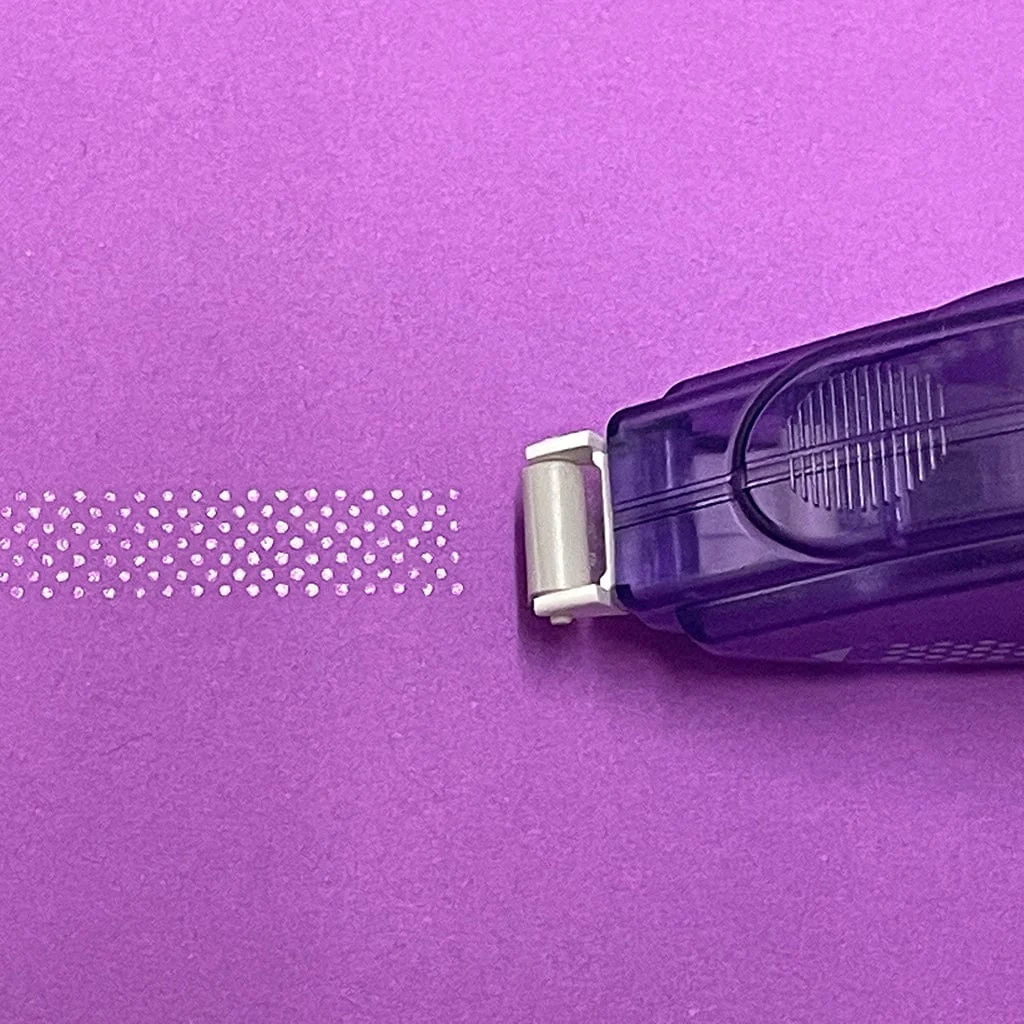
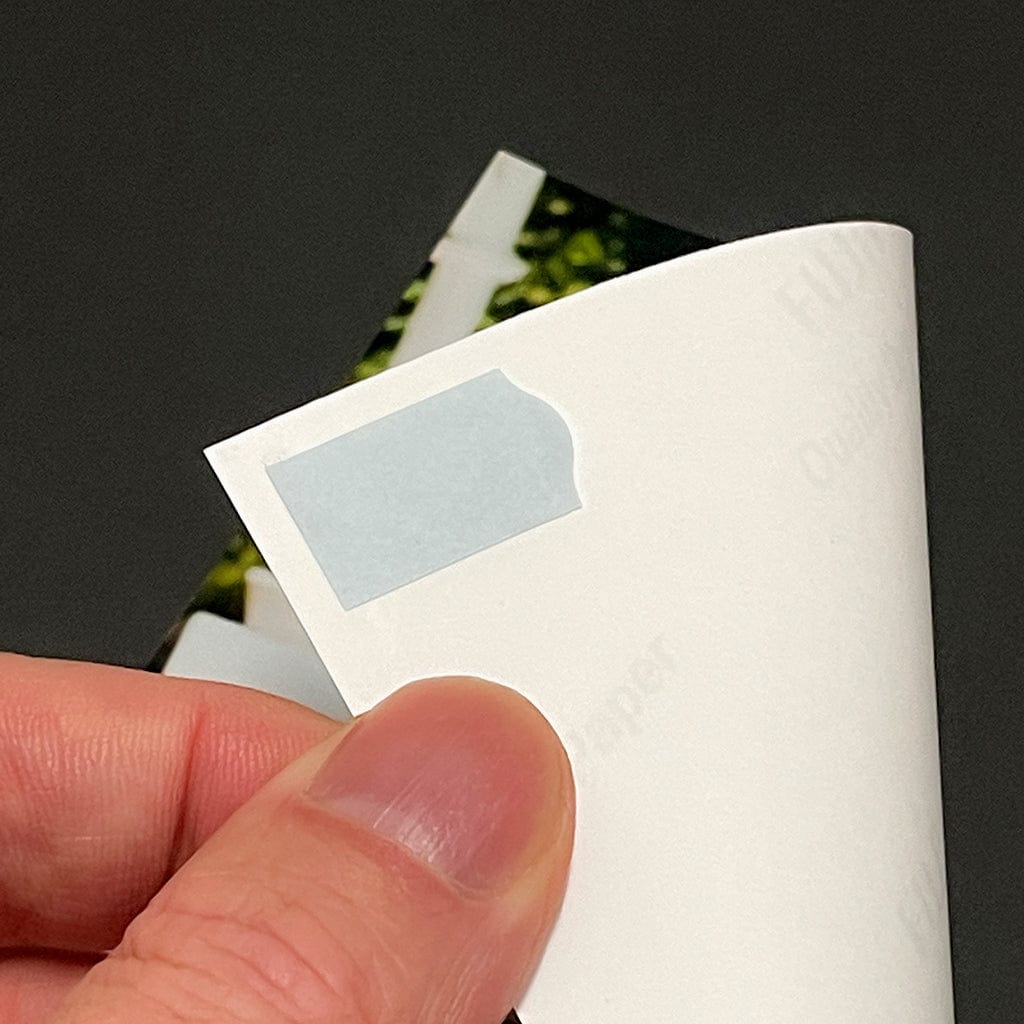
Need a different mounting method? For permanent layouts, consider photo-safe adhesive dots or double-sided tabs. For framed displays, a hinged mat with photo corners keeps the print reversible and fully archival.
Buy More and Save!
Save on bulk orders of photo mounting accessories and photo corners:
- Save 20% when buying 5 or more packs
Discount is automatically applied at checkout.
Product Information
Product Information
Shipping & Returns
Shipping & Returns
Profile Archival Photo Corner Stickers (pk250)
Profile Archival Photo Corner Stickers (pk250)
Profile Archival Photo Corners are perfect for easily mounting and arranging your photos in any drymount photo album.
These handy self-adhesive photo mounting accessories make it simple to mount photos without any sticky mess or residue on your prints.
Each photo sits securely within the corner pockets and can be removed or repositioned at any time. This is ideal if you wish to update, move, or replace photos - or read notes on the back of older prints.
Made from crystal-clear, conservation-grade polypropylene, Profile self-adhesive photo corner stickers are PVC-free, acid-free, and photo-safe. The corners measure 10 mm × 10 mm and feature a premium, pressure-sensitive acrylic adhesive that is non-yellowing and free from harmful chemicals.
These archival photo corners have been P.A.T. tested by an independent scientific laboratory and confirmed to be photo safe for long-term storage of photographic materials. Learn more about P.A.T. testing here.
No adhesive ever touches your photographs, making these corners the safest archival option for mounting precious photographic prints, artworks, and documents.
Because prints can be easily inserted and removed without damage, Profile Archival Photo Corners are recommended by professional photographic conservation specialists around the world.
They’re also highly versatile - perfect for mounting photos, postcards, collector cards, artworks, or memorabilia in albums, scrapbooks, and picture frames.
- Pack of 250 clear self-adhesive photo corners
- No direct adhesive contact with photos
- Photos can be easily mounted and removed
- Archival quality, PVC-free and acid-free
- P.A.T. tested and certified photo safe for long-term storage
- Made in Denmark with the highest standards of quality
How to Use Self-Adhesive Photo Corners
Photo corners are a simple, archival way to mount prints without putting adhesive on the photo itself. Follow these steps for a neat, secure result in albums, scrapbooks, or framed displays.
Before You Start
- Work surface: Clean, dry, and flat. Wash and dry your hands or use cotton gloves.
- Page type: Best on smooth, uncoated album pages or backing boards. Avoid very textured papers where adhesives may not adhere well.
- Tools: Soft pencil, small ruler or set square, and a clean weight (e.g. a book) to hold the photo flat.
Step-by-Step
- Plan the position: Place your photo on the page and lightly mark two small pencil dots at the bottom corners to guide alignment.
- Fit the bottom corners: Slide two corners onto the bottom edges of the photo until seated fully into the pockets.
- Stick the bottom corners: With the corners still on the photo, align it with your pencil dots and press down firmly to adhere the corners to the page.
- Add the top corners: Slide two more corners onto the top edges of the photo and press to stick.
- Set the bond: Gently burnish each corner so the adhesive bonds evenly to the page.
Neat Alignment Tips
- Square edges: Use a small set square or ruled lines on your page to keep photos straight.
- Even borders: Measure a consistent margin from page edges (e.g. 20 mm) before Step 1.
- Multiple photos: Lay out all photos first, mark positions, then mount one at a time.
Troubleshooting
- If corners won’t stick well: Wipe the page lightly, burnish each corner after placing, and allow the adhesive to set under a light weight for 10–15 minutes. Smooth pages work best.
- If the photo is slightly crooked: Lift only the top corners, re-square the print using a ruler edge, then press and burnish again.
- If you need to reposition: Slide the photo out gently, lift the corners from the page if needed, and replace with fresh corners if the adhesive has weakened.
Compatibility & Sizing
- Standard prints: Suitable for classic photo sizes (4×6", 5×7", 8×10") and most inkjet or lab prints.
- Matting & framing: Perfect for temporary, exhibition-style mounting under a window mat or within a frame.
Quick Care Tips
- Do not over-tighten corners. Allow a natural fit so the photo lies flat without bowing.
- Avoid touching the image surface. Handle by the edges only.
- For albums with glassine interleaving sheets, close pages gently to prevent corners from catching.
Need a different mounting method? For permanent layouts, consider photo-safe adhesive dots or double-sided tabs. For framed displays, a hinged mat with photo corners keeps the print reversible and fully archival.
Buy More and Save!
Save on bulk orders of photo mounting accessories and photo corners:
- Save 20% when buying 5 or more packs
Discount is automatically applied at checkout.
Product Information
Product Information
Shipping & Returns
Shipping & Returns
Description
Profile Archival Photo Corners are perfect for easily mounting and arranging your photos in any drymount photo album.
These handy self-adhesive photo mounting accessories make it simple to mount photos without any sticky mess or residue on your prints.
Each photo sits securely within the corner pockets and can be removed or repositioned at any time. This is ideal if you wish to update, move, or replace photos - or read notes on the back of older prints.
Made from crystal-clear, conservation-grade polypropylene, Profile self-adhesive photo corner stickers are PVC-free, acid-free, and photo-safe. The corners measure 10 mm × 10 mm and feature a premium, pressure-sensitive acrylic adhesive that is non-yellowing and free from harmful chemicals.
These archival photo corners have been P.A.T. tested by an independent scientific laboratory and confirmed to be photo safe for long-term storage of photographic materials. Learn more about P.A.T. testing here.
No adhesive ever touches your photographs, making these corners the safest archival option for mounting precious photographic prints, artworks, and documents.
Because prints can be easily inserted and removed without damage, Profile Archival Photo Corners are recommended by professional photographic conservation specialists around the world.
They’re also highly versatile - perfect for mounting photos, postcards, collector cards, artworks, or memorabilia in albums, scrapbooks, and picture frames.
- Pack of 250 clear self-adhesive photo corners
- No direct adhesive contact with photos
- Photos can be easily mounted and removed
- Archival quality, PVC-free and acid-free
- P.A.T. tested and certified photo safe for long-term storage
- Made in Denmark with the highest standards of quality
How to Use Self-Adhesive Photo Corners
Photo corners are a simple, archival way to mount prints without putting adhesive on the photo itself. Follow these steps for a neat, secure result in albums, scrapbooks, or framed displays.
Before You Start
- Work surface: Clean, dry, and flat. Wash and dry your hands or use cotton gloves.
- Page type: Best on smooth, uncoated album pages or backing boards. Avoid very textured papers where adhesives may not adhere well.
- Tools: Soft pencil, small ruler or set square, and a clean weight (e.g. a book) to hold the photo flat.
Step-by-Step
- Plan the position: Place your photo on the page and lightly mark two small pencil dots at the bottom corners to guide alignment.
- Fit the bottom corners: Slide two corners onto the bottom edges of the photo until seated fully into the pockets.
- Stick the bottom corners: With the corners still on the photo, align it with your pencil dots and press down firmly to adhere the corners to the page.
- Add the top corners: Slide two more corners onto the top edges of the photo and press to stick.
- Set the bond: Gently burnish each corner so the adhesive bonds evenly to the page.
Neat Alignment Tips
- Square edges: Use a small set square or ruled lines on your page to keep photos straight.
- Even borders: Measure a consistent margin from page edges (e.g. 20 mm) before Step 1.
- Multiple photos: Lay out all photos first, mark positions, then mount one at a time.
Troubleshooting
- If corners won’t stick well: Wipe the page lightly, burnish each corner after placing, and allow the adhesive to set under a light weight for 10–15 minutes. Smooth pages work best.
- If the photo is slightly crooked: Lift only the top corners, re-square the print using a ruler edge, then press and burnish again.
- If you need to reposition: Slide the photo out gently, lift the corners from the page if needed, and replace with fresh corners if the adhesive has weakened.
Compatibility & Sizing
- Standard prints: Suitable for classic photo sizes (4×6", 5×7", 8×10") and most inkjet or lab prints.
- Matting & framing: Perfect for temporary, exhibition-style mounting under a window mat or within a frame.
Quick Care Tips
- Do not over-tighten corners. Allow a natural fit so the photo lies flat without bowing.
- Avoid touching the image surface. Handle by the edges only.
- For albums with glassine interleaving sheets, close pages gently to prevent corners from catching.
Need a different mounting method? For permanent layouts, consider photo-safe adhesive dots or double-sided tabs. For framed displays, a hinged mat with photo corners keeps the print reversible and fully archival.
Buy More and Save!
Save on bulk orders of photo mounting accessories and photo corners:
- Save 20% when buying 5 or more packs
Discount is automatically applied at checkout.